
File size: 7,905 Bytes
1e92f2d |
1 2 3 4 5 6 7 8 9 10 11 12 13 14 15 16 17 18 19 20 21 22 23 24 25 26 27 28 29 30 31 32 33 34 35 36 37 38 39 40 41 42 43 44 45 46 47 48 49 50 51 52 53 54 55 56 57 58 59 60 61 62 63 64 65 66 67 68 69 70 71 72 73 74 75 76 77 78 79 80 81 82 83 84 85 86 87 88 89 90 91 92 93 94 95 96 97 98 99 100 101 102 103 104 105 106 107 108 109 110 111 112 113 114 115 116 117 118 119 120 121 122 123 124 125 126 127 128 129 130 131 132 133 134 135 136 137 138 139 140 141 142 143 144 145 146 147 148 149 150 151 152 153 154 155 156 157 158 159 160 161 162 163 164 165 166 167 168 169 170 171 172 173 174 175 176 |
# A statically generated blog example using Next.js and Prepr
This example showcases Next.js's [Static Generation](https://nextjs.org/docs/basic-features/pages) feature using [Prepr](https://prepr.io/) as the data source.
## Demo
Check out our Blog page example:
- **Live**: [https://next-blog-prepr.vercel.app/](https://next-blog-prepr.vercel.app/)
- **Preview**: [https://next-blog-prepr.vercel.app/api/preview...](https://next-blog-prepr.vercel.app/api/preview?secret=237864ihasdhj283768&slug=blueberry-cheesecake)
## How to use
Execute [`create-next-app`](https://github.com/vercel/next.js/tree/canary/packages/create-next-app) with [npm](https://docs.npmjs.com/cli/init), [Yarn](https://yarnpkg.com/lang/en/docs/cli/create/), or [pnpm](https://pnpm.io) to bootstrap the example:
```bash
npx create-next-app --example cms-prepr cms-prepr-app
```
```bash
yarn create next-app --example cms-prepr cms-prepr-app
```
```bash
pnpm create next-app --example cms-prepr cms-prepr-app
```
## Configuration
### Step 1. Set up Prepr
**1.1** First, [sign up for a Prepr account](https://signup.prepr.io/).
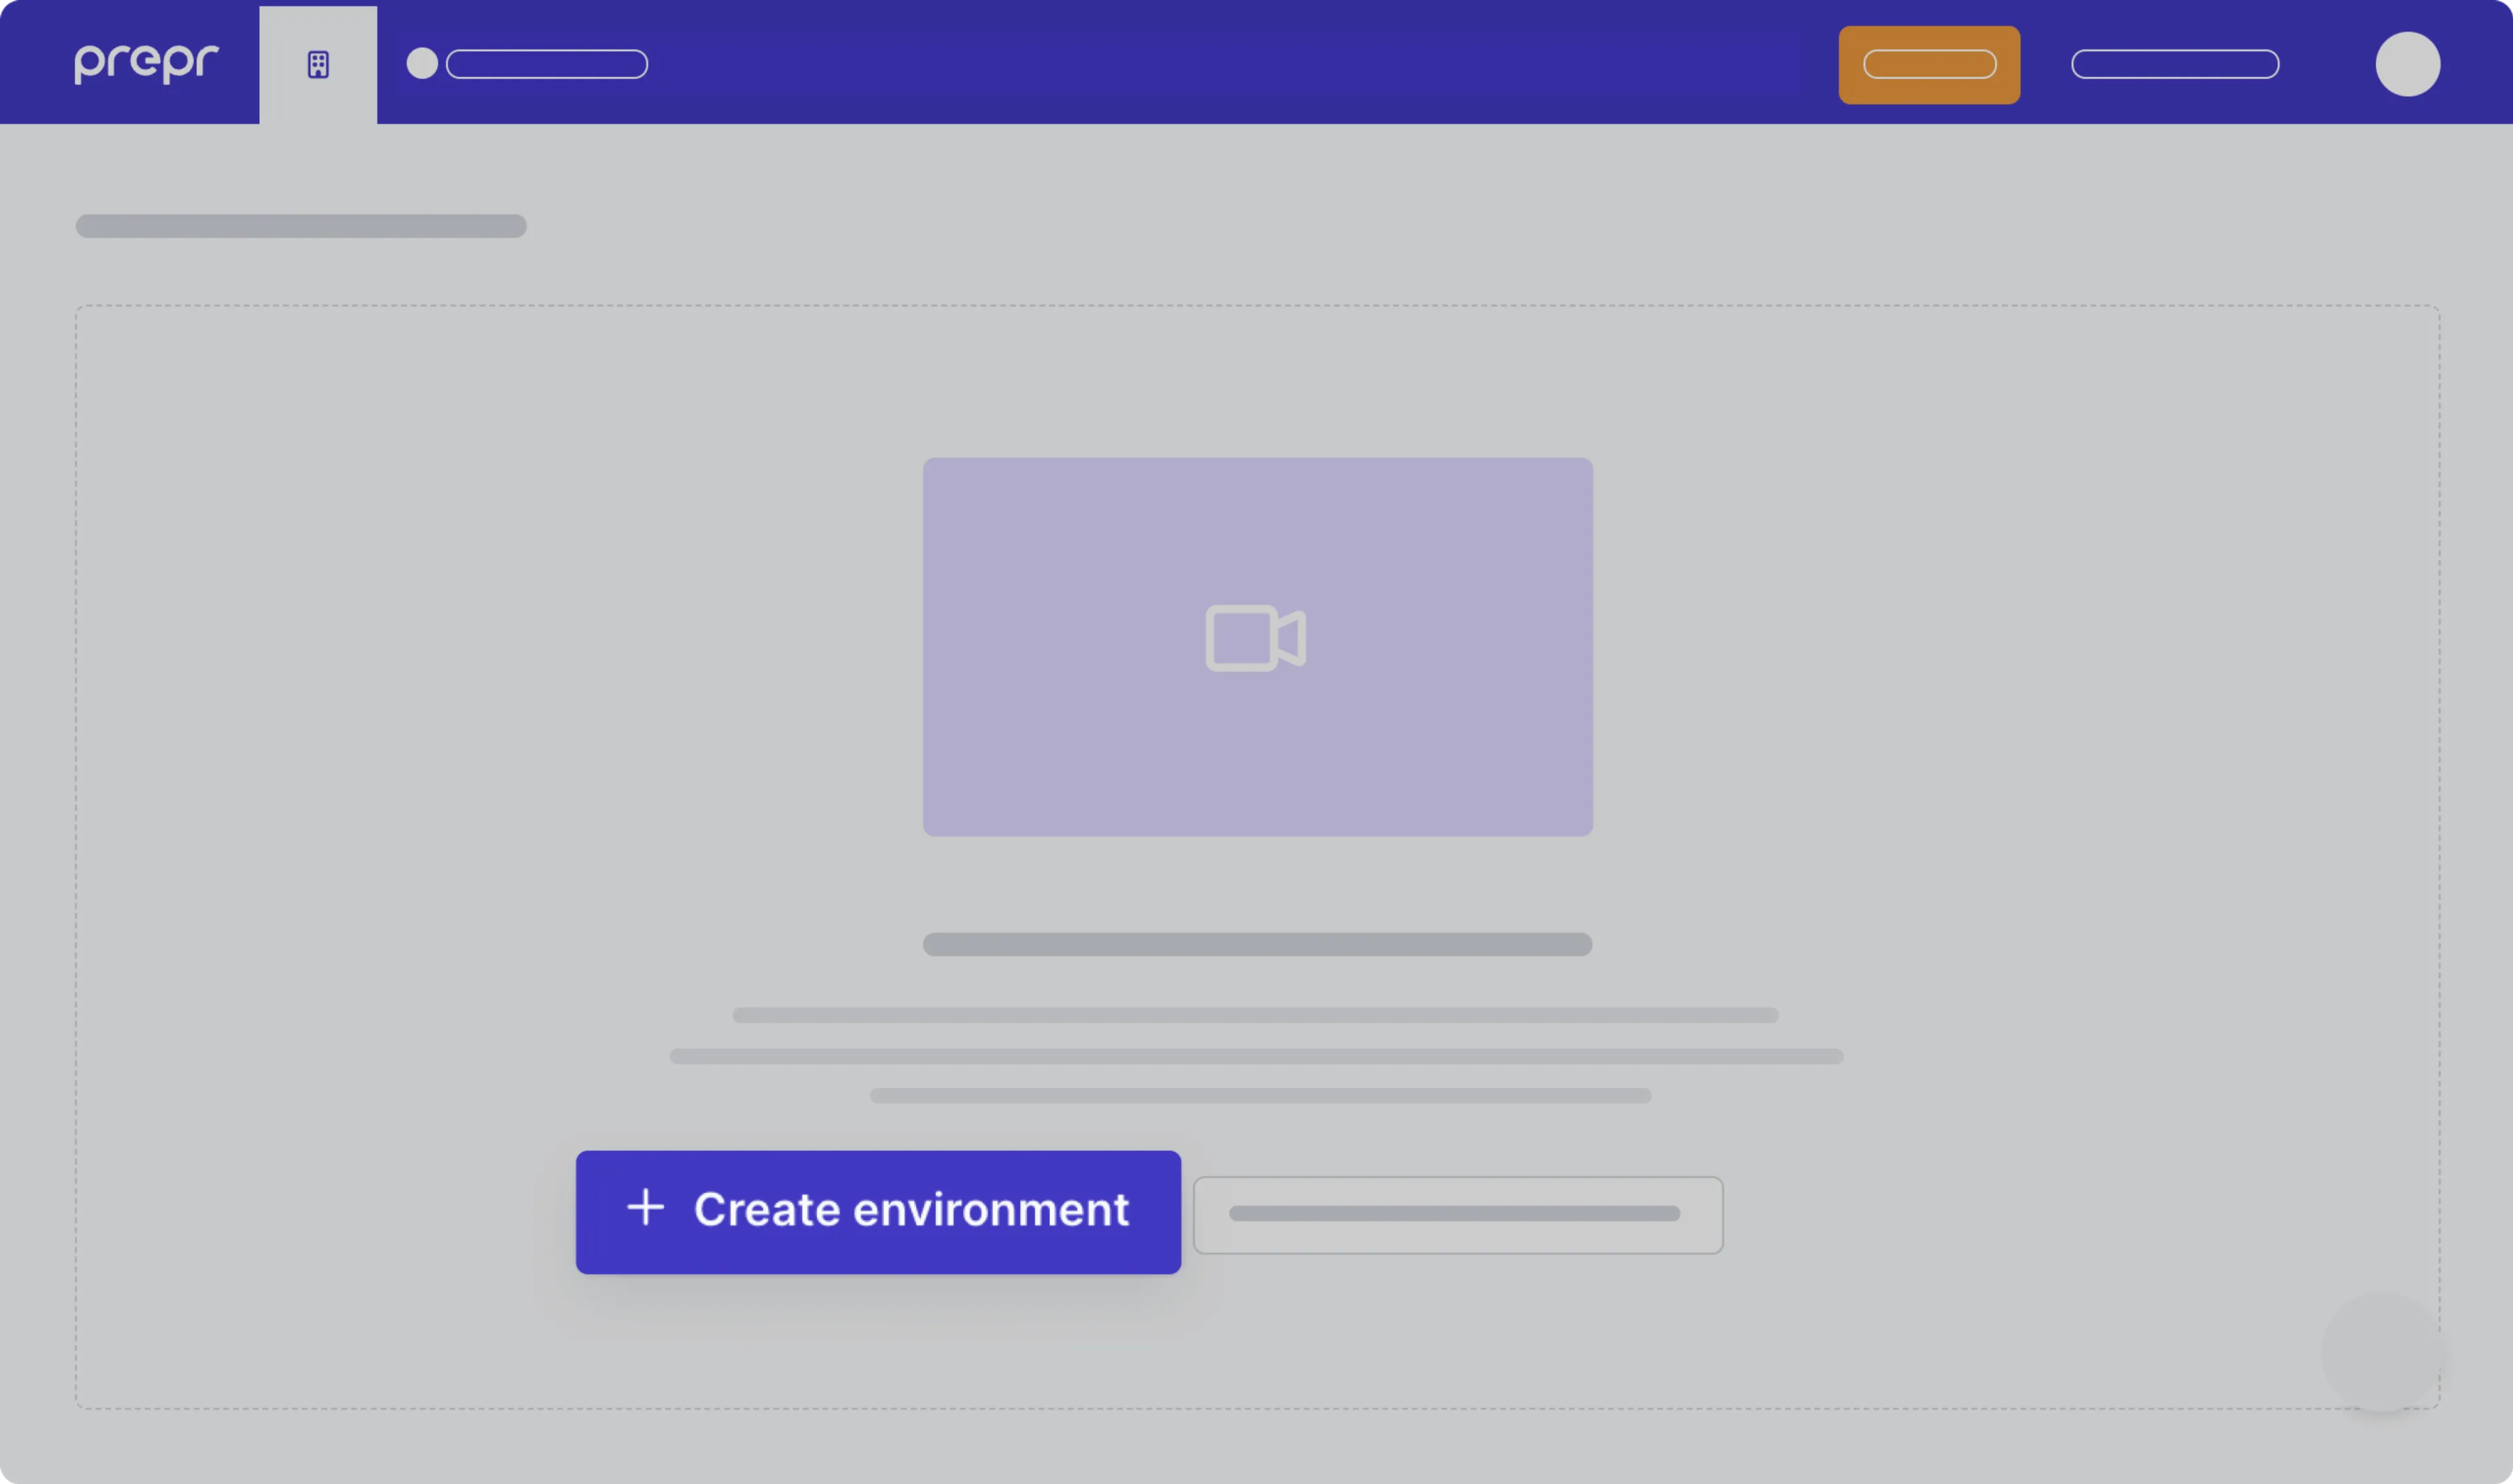
**1.2** After you sign up, create a new environment in Prepr. For more details, [check out the environment docs](https://docs.prepr.io/developing-with-prepr/set-up-environments).
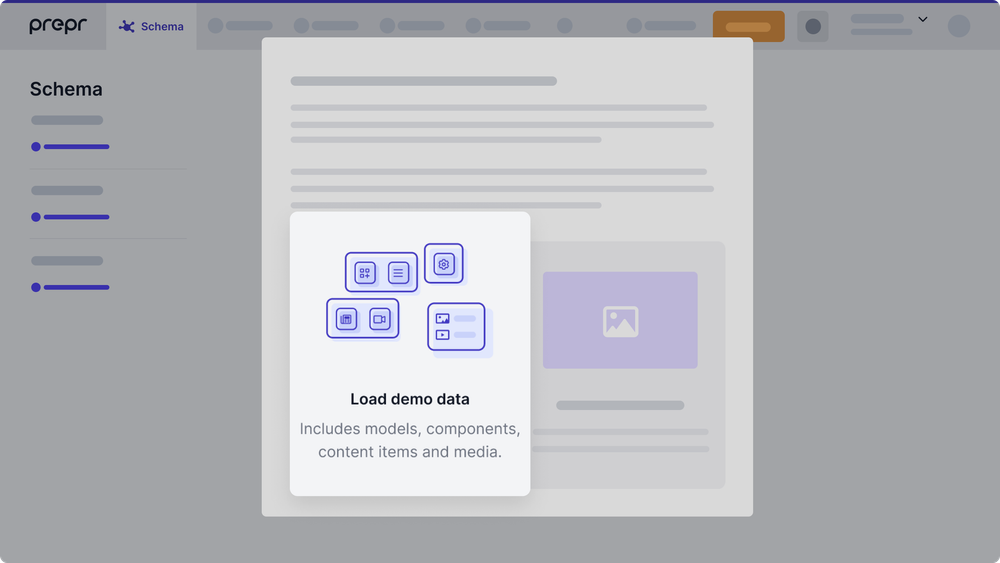
**1.3** Once you’ve created the environment, choose to **Load demo data**. With that, Prepr will automatically upload sample models, content items, and other data you can use for your example Next.js app.
### Step 2. Set up environment variables
Once you’ve set up your Prepr environment, you can define environment variables for your project. Please proceed with the steps below.
**2.1** Run the following command to copy and rename the `.env.local.example` file as follows:
```bash
cp .env.local.example .env.local
```
The `.env.local` file will be ignored by Git.
**2.2** In your environment, navigate to **Settings > Access Tokens**. You will see the automatically generated access tokens for your Prepr environment.
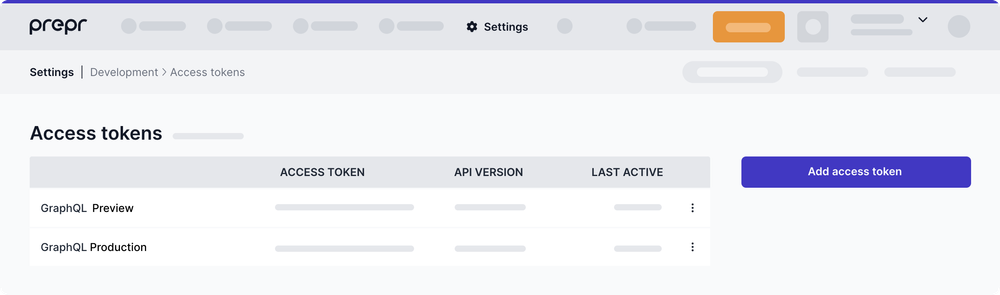
Copy the _GraphQL Production_ access token and paste it as the `PREPRIO_PRODUCTION_TOKEN` variable in `.env.local`. Then copy and paste the _GraphQL Preview_ access token as the `PREPRIO_PREVIEW_TOKEN` variable.
Alternatively, you can create access tokens yourself by clicking **Add access token**. If so, make sure to [choose the right GraphQL permissions](https://docs.prepr.io/reference/graphql/v1/authorization) for the access tokens.
**2.3** Set a custom value with no spaces as the `PREPRIO_PREVIEW_SECRET` variable, for example, a UUID. This value will be used to enable [preview mode](https://nextjs.org/docs/advanced-features/preview-mode).
Once done, your `.env.local` file should look like this:
```bash
PREPRIO_API=https://graphql.prepr.io/graphql
PREPRIO_PRODUCTION_TOKEN='your Production access token'
PREPRIO_PREVIEW_TOKEN='your Preview access token'
PREPRIO_PREVIEW_SECRET='your secret id'
```
### Step 3. Run Next.js in development mode
Now that you've finished preparing the project, you may proceed to run it.
**3.1** Execute one of the following commands to install the packages listed in the `package.json` file:
```bash
npm install
```
```bash
yarn install
```
**3.2** Execute one of the following commands to run the dev script defined in the `package.json` file:
```bash
npm run dev
```
```bash
yarn dev
```
Your example Blog website should be up and running on [http://localhost:3000](http://localhost:3000). If it doesn't work, please post on [GitHub discussions](https://github.com/vercel/next.js/discussions).
### Step 4. Optional: Try Preview mode
Great progress has been made! You are just a few steps away from getting your example website live.
Before proceeding, you can test how the content preview works in Prepr. This step is optional. Proceed to Step 5 if you don’t want to use preview mode.
To try preview mode, follow these steps:
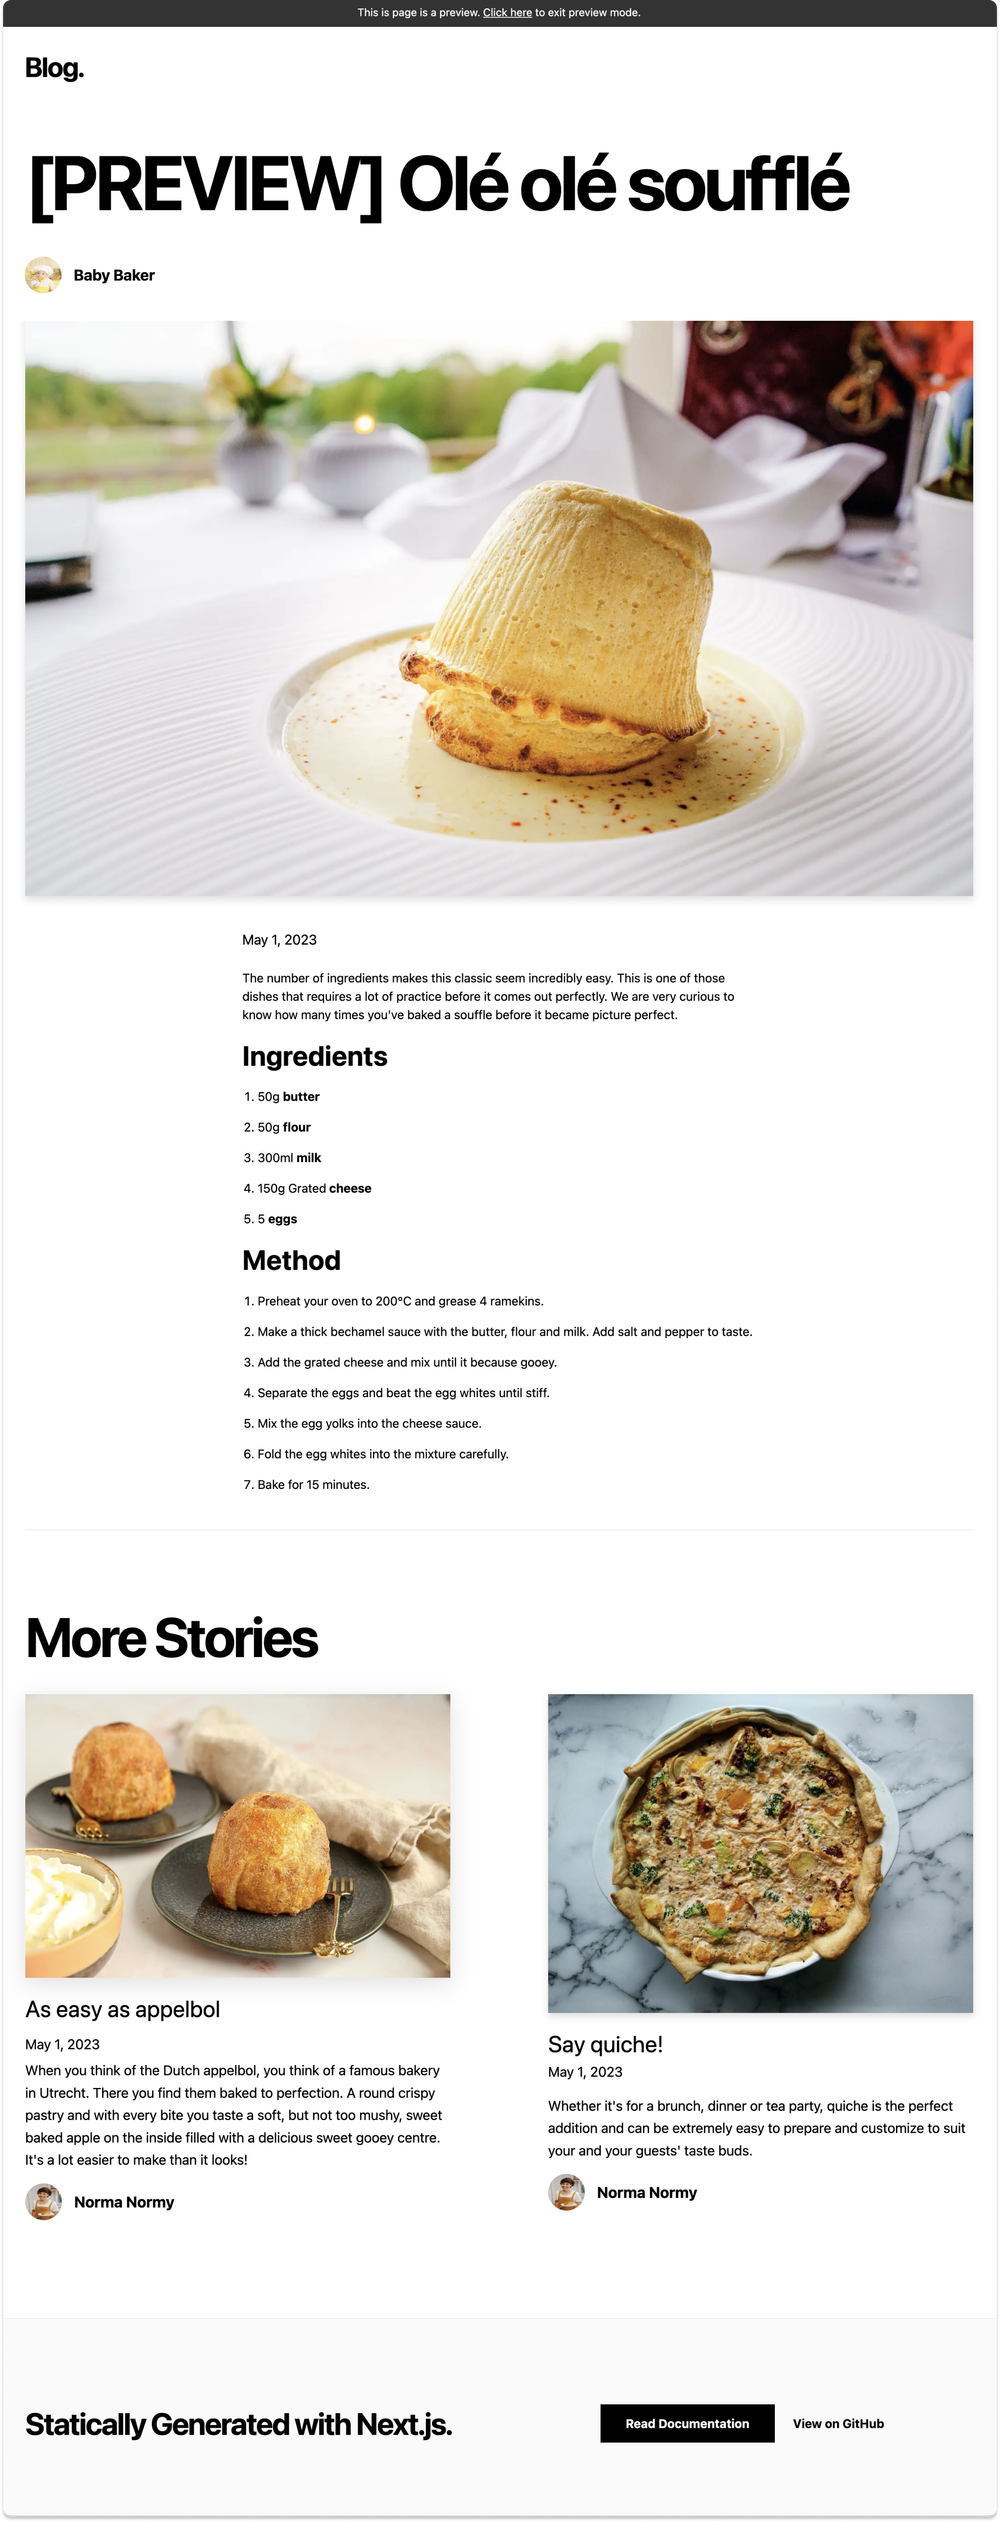
**4.1** In Prepr, go to one of the content items of the _Article model_ and update the item title. For example, you can add _[PREVIEW]_ in front of the title. After you edit the content item, save it with the _Review status_.
**4.2** To preview the content item, transform its URL to the following format:
`http://localhost:3000/api/preview?secret=<PREPRIO_PREVIEW_SECRET>&slug=<SLUG_TO_PREVIEW>`,
where:
- `<PREPRIO_PREVIEW_SECRET>` is the same preview secret you defined in the `.env.local` file;
- `<SLUG_TO_PREVIEW>` is the slug of the content item you want to preview.
**Note:** To exit the preview mode, you must click on **Click here to exit preview mode** at the top of the page.
### Step 5. Deploy on Vercel
To make your Next.js app available online, deploy it to the cloud using [Vercel](https://vercel.com/?utm_source=github&utm_medium=readme&utm_campaign=next-example). Vercel provides a user-friendly platform for deploying and managing web applications. For more information, please [refer to the Next.js documentation](https://nextjs.org/docs/deployment).
You can go for one of the following options:
- **Deploy your local project**</br>
To deploy your local project to Vercel, push it to GitHub/GitLab/Bitbucket and [import it to Vercel](https://vercel.com/new?utm_source=github&utm_medium=readme&utm_campaign=next-example).
**Important:** When you import your project on Vercel, make sure to click on **Environment Variables** and set them to match your `.env.local` file.
- **Deploy from our template**</br>
Alternatively, you can deploy using our template by clicking on the **Deploy** button below.
[](https://vercel.com/new/clone?repository-url=https://github.com/vercel/next.js/tree/canary/examples/cms-prepr&project-name=cms-prepr&repository-name=cms-prepr&env=PREPRIO_API,PREPRIO_PRODUCTION_TOKEN,PREPRIO_PREVIEW_TOKEN,PREPRIO_PREVIEW_SECRET&envDescription=Required%20to%20connect%20the%20app%20with%20Prepr&envLink=https://vercel.link/cms-prepr-env)
## Next steps
For more advanced topics, please refer to the Prepr’s documentation:
- [A/B testing](https://docs.prepr.io/optimization-and-personalization/ab-testing)
- [Personalization](https://docs.prepr.io/optimization-and-personalization/personalized-stack)
- [Recommendations](https://docs.prepr.io/optimization-and-personalization/recommendations)
If you have questions, please [get in touch](https://prepr.io/get-in-touch) with one of our specialists or [join our Slack community](https://slack.prepr.io/).
## Related examples
- [AgilityCMS](/examples/cms-agilitycms)
- [Builder.io](/examples/cms-builder-io)
- [ButterCMS](/examples/cms-buttercms)
- [Contentful](/examples/cms-contentful)
- [Cosmic](/examples/cms-cosmic)
- [DatoCMS](/examples/cms-datocms)
- [DotCMS](/examples/cms-dotcms)
- [Drupal](/examples/cms-drupal)
- [Enterspeed](/examples/cms-enterspeed)
- [Ghost](/examples/cms-ghost)
- [GraphCMS](/examples/cms-graphcms)
- [Kontent.ai](/examples/cms-kontent-ai)
- [MakeSwift](/examples/cms-makeswift)
- [Payload](/examples/cms-payload)
- [Plasmic](/examples/cms-plasmic)
- [Prepr](/examples/cms-prepr)
- [Prismic](/examples/cms-prismic)
- [Sanity](/examples/cms-sanity)
- [Sitecore XM Cloud](/examples/cms-sitecore-xmcloud)
- [Sitefinity](/examples/cms-sitefinity)
- [Storyblok](/examples/cms-storyblok)
- [TakeShape](/examples/cms-takeshape)
- [Tina](/examples/cms-tina)
- [Umbraco](/examples/cms-umbraco)
- [Umbraco heartcore](/examples/cms-umbraco-heartcore)
- [Webiny](/examples/cms-webiny)
- [WordPress](/examples/cms-wordpress)
- [Blog Starter](/examples/blog-starter)
|