| # ComfyUI-VideoHelperSuite |
| Nodes related to video workflows |
|
|
| ## I/O Nodes |
| ### Load Video |
| Converts a video file into a series of images |
| - video: The video file to be loaded |
| - force_rate: Discards or duplicates frames as needed to hit a target frame rate. Disabled by setting to 0. This can be used to quickly match a suggested frame rate like the 8 fps of AnimateDiff. |
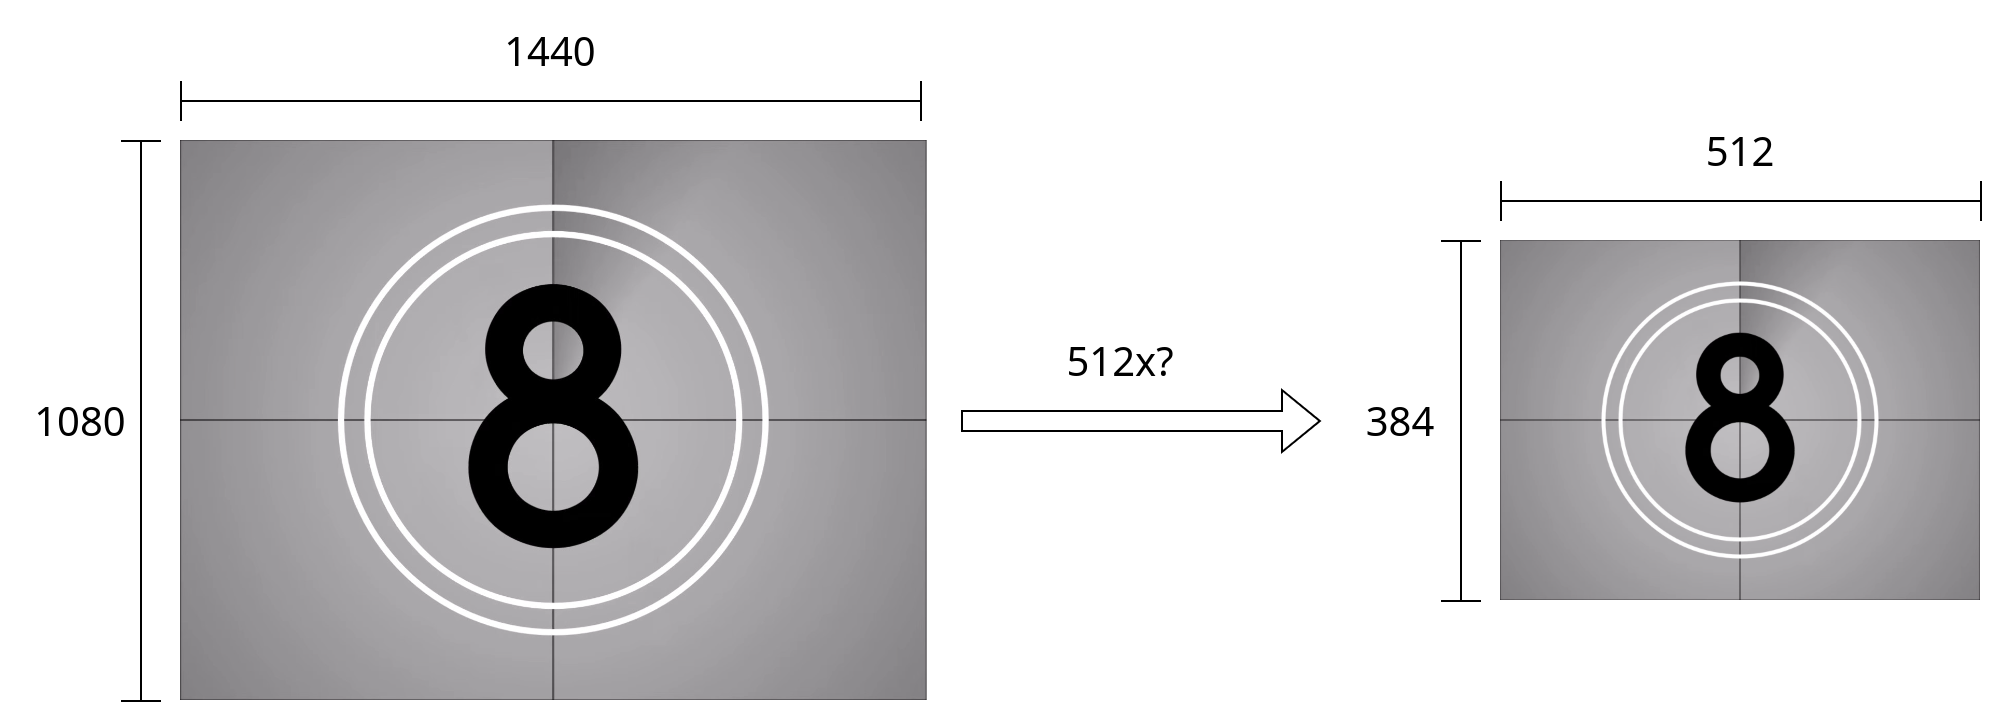
| - force_size: Allows for quick resizing to a number of suggested sizes. Several options allow you to set only width or height and determine the other from aspect ratio. |
| - frame_load_cap: The maximum number of frames which will be returned. This could also be thought of as the maximum batch size. |
| - skip_first_frames: How many frames to skip from the start of the video after adjusting for a forced frame rate. By incrementing this number by the frame_load_cap, you can easily process a longer input video in parts. |
| - select_every_nth: Allows for skipping a number of frames without considering the base frame rate or risking frame duplication. Often useful when working with animated gifs |
| A path variant of the Load Video node exists that allows loading videos from external paths |
|  |
|  |
| If [Advanced Previews](#advanced-previews) is enabled in the options menu of the web ui, the preview will reflect the current settings on the node. |
| ### Load Image Sequence |
| Loads all image files from a subfolder. Options are similar to Load Video. |
| - image_load_cap: The maximum number of images which will be returned. This could also be thought of as the maximum batch size. |
| - skip_first_images: How many images to skip. By incrementing this number by image_load_cap, you can easily divide a long sequence of images into multiple batches. |
| - select_every_nth: Allows for skipping a number of images between every returned frame. |
|
|
| A path variant of Load Image sequence also exists. |
| ### Video Combine |
| Combines a series of images into an output video |
| If the optional audio input is provided, it will also be combined into the output video |
| - frame_rate: How many of the input frames are displayed per second. A higher frame rate means that the output video plays faster and has less duration. This should usually be kept to 8 for AnimateDiff, or matched to the force_rate of a Load Video node. |
| - loop_count: How many additional times the video should repeat |
| - filename_prefix: The base file name used for output. |
| - You can save output to a subfolder: `subfolder/video` |
| - Like the builtin Save Image node, you can add timestamps. `%date:yyyy-MM-ddThh:mm:ss%` might become 2023-10-31T6:45:25 |
| - format: The file format to use. Advanced information on configuring or adding additional video formats can be found in the [Video Formats](#video-formats) section. |
| - pingpong: Causes the input to be played back in the reverse to create a clean loop. |
| - save_output: Whether the image should be put into the output directory or the temp directory. |
| Returns: a `VHS_FILENAMES` which consists of a boolean indicating if save_output is enabled and a list of the full filepaths of all generated outputs in the order created. Accordingly `output[1][-1]` will be the most complete output. |
| |
| Depending on the format chosen, additional options may become available, including |
| - crf: Describes the quality of the output video. A lower number gives a higher quality video and a larger file size, while a higher number gives a lower quality video with a smaller size. Scaling varies by codec, but visually lossless output generally occurs around 20. |
| - save_metadata: Includes a copy of the workflow in the output video which can be loaded by dragging and dropping the video, just like with images. |
| - pix_fmt: Changes how the pixel data is stored. `yuv420p10le` has higher color quality, but won't work on all devices |
| ### Load Audio |
| Provides a way to load standalone audio files. |
| - seek_seconds: An optional start time for the audio file in seconds. |
| |
| ## Latent/Image Nodes |
| A number of utility nodes exist for managing latents. For each, there is an equivalent node which works on images. |
| ### Split Batch |
| Divides the latents into two sets. The first `split_index` latents go to output A and the remainder to output B. If less then `split_index` latents are provided as input, all are passed to output A and output B is empty. |
| ### Merge Batch |
| Combines two groups of latents into a single output. The order of the output is the latents in A followed by the latents in B. |
| If the input groups are not the same size, the node provides options for rescaling the latents before merging. |
| ### Select Every Nth |
| The first of every `select_every_nth` input is passed and the remainder are discarded |
| ### Get Count |
| ### Duplicate Batch |
| |
| ## Video Previews |
| Load Video (Upload), Load Video (Path), Load Images (Upload), Load Images (Path) and Video Combine provide animated previews. |
| Nodes with previews provide additional functionality when right clicked |
| - Open preview |
| - Save preview |
| - Pause preview: Can improve performance with very large videos |
| - Hide preview: Can improve performance, save space |
| - Sync preview: Restarts all previews for side-by-side comparisons |
| |
| ### Advanced Previews |
| Advanced Previews must be manually enabled by clicking the settings gear next to Queue Prompt and checking the box for VHS Advanced Previews. |
| If enabled, videos which are displayed in the ui will be converted with ffmpeg on request. This has several benefits |
| - Previews for Load Video nodes will reflect the settings on the node such as skip_first_frames and frame_load_cap |
| - This makes it easy to select an exact portion of an input video and sync it with outputs |
| - It can use substantially less bandwidth if running the server remotely |
| - It can greatly improve the browser performance by downsizing videos to the in ui resolution, particularly useful with animated gifs |
| - It allows for previews of videos that would not normally be playable in browser. |
| - Can be limited to subdirectories of ComyUI if `VHS_STRICT_PATHS` is set as an environment variable. |
| |
| This fucntionality is disabled since it comes with several downsides |
| - There is a delay before videos show in the browser. This delay can become quite large if the input video is long |
| - The preview videos are lower quality (The original can always be viewed with Right Click -> Open preview) |
| |
| ## Video Formats |
| Those familiar with ffmpeg are able to add json files to the video_formats folders to add new output types to Video Combine. |
| Consider the following example for av1-webm |
| ```json |
| { |
| "main_pass": |
| [ |
| "-n", "-c:v", "libsvtav1", |
| "-pix_fmt", "yuv420p10le", |
| "-crf", ["crf","INT", {"default": 23, "min": 0, "max": 100, "step": 1}] |
| ], |
| "audio_pass": ["-c:a", "libopus"], |
| "extension": "webm", |
| "environment": {"SVT_LOG": "1"} |
| } |
| ``` |
| Most configuration takes place in `main_pass`, which is a list of arguments that are passed to ffmpeg. |
| - `"-n"` designates that the command should fail if a file of the same name already exists. This should never happen, but if some bug were to occur, it would ensure other files aren't overwritten. |
| - `"-c:v", "libsvtav1"` designates that the video should be encoded with an av1 codec using the new SVT-AV1 encoder. SVT-AV1 is much faster than libaom-av1, but may not exist in older versions of ffmpeg. Alternatively, av1_nvenc could be used for gpu encoding with newer nvidia cards. |
| - `"-pix_fmt", "yuv420p10le"` designates the standard pixel format with 10-bit color. It's important that some pixel format be specified to ensure a nonconfigurable input pix_fmt isn't used. |
| |
| `audio pass` contains a list of arguments which are passed to ffmpeg when audio is passed into Video Combine |
| |
| `extension` designates both the file extension and the container format that is used. If some of the above options are omitted from `main_pass` it can affect what default options are chosen. |
| `environment` can optionally be provided to set environment variables during execution. For av1 it's used to reduce the verbosity of logging so that only major errors are displayed. |
| `input_color_depth` effects the format in which pixels are passed to the ffmpeg subprocess. Current valid options are `8bit` and `16bit`. The later will produce higher quality output, but is experimental. |
|
|
| Fields can be exposed in the webui as a widget using a format similar to what is used in the creation of custom nodes. In the above example, the argument for `-crf` will be exposed as a format widget in the webui. Format widgets are a list of up to 3 terms |
| - The name of the widget that will be displayed in the web ui |
| - Either a primitive such as "INT" or "BOOLEAN", or a list of string options |
| - A dictionary of options |
|
|

